Appearance
OrderProtection API Integration
Getting Started With A Custom Widget/Cart
To integrate Order Protection with your website, you will need to first be setup with an Order Protection account and have access to the Order Protection dashboard. If you do not have access to the dashboard, please reach out to your Order Protection representative.
Once you have access to the OrderProtection dashboard (https://app.orderprotection.com), make sure that the store you are installing Order Protection on is selected from the store dropdown.
Generating your API Token
You must generate an API token which will be used to authenticate your store with OrderProtection's API. This is a sensitive key as it will allow you to send order information into OrderProtection. Please store this in a safe place.
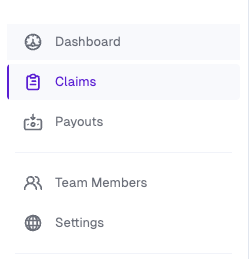
Click on the settings navigation item in the left sidebar.
After navigating to settings, navigate to the API Tokens tab
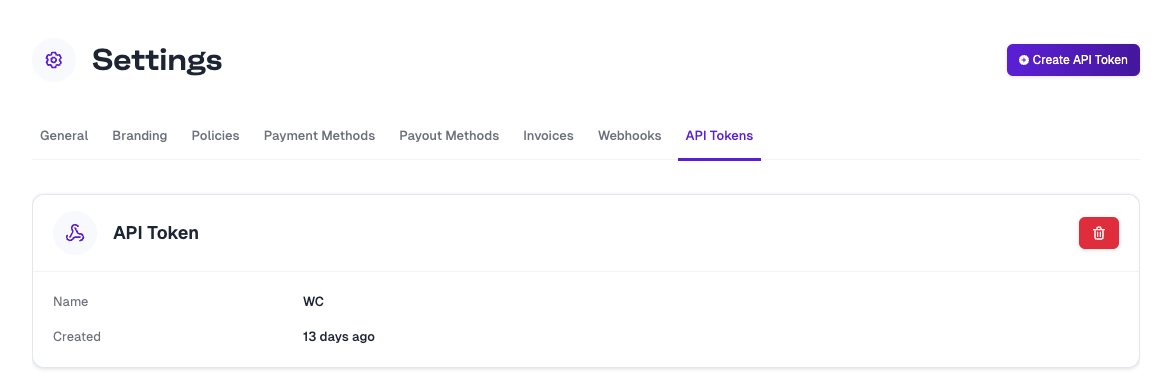
Generate a new API token using the Create API Token button. You can name this anything that you'd like. We use the name to attribute actions to a specific key. If your API key were to be compromised you'd be able to know exactly which key to remove.
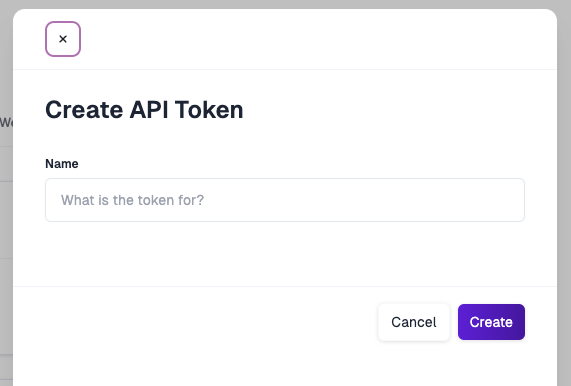
After clicking Create make sure to save the value shown. You will not be able to see this value again!
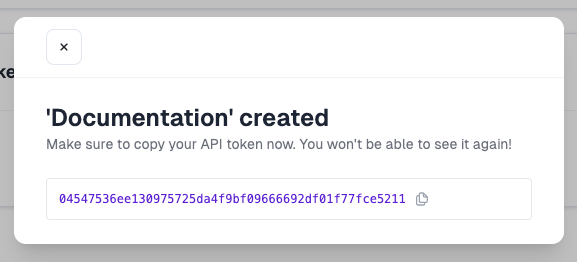
Save this token somewhere safe, you'll need this in your OrderProtection API setup.
Creating a Webhook
In order for OrderProtection to be able to create replacement orders and refund customers we need to create a webhook. This webhook will send a request to you informing the your store which items to reship or refund.
You'll need to know your hosted sites location e.g (https://orderprotection.com)
Go back to your settings tab in your OrderProtection dashboard and click on the Webhooks tab.

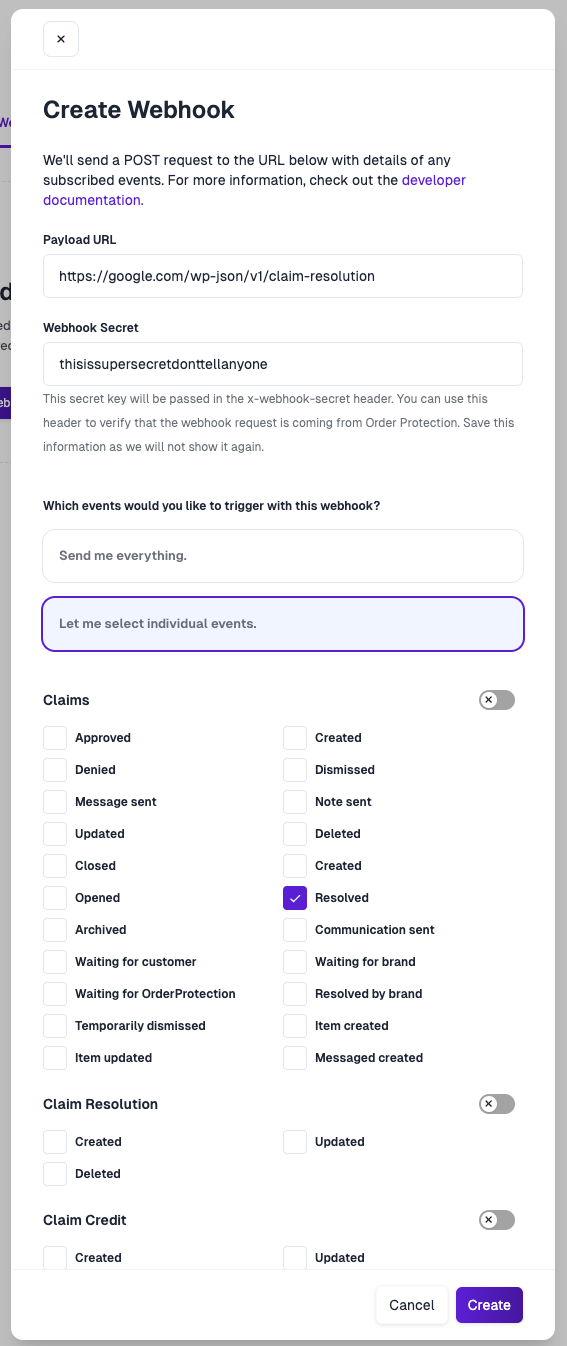
Click on the Create Webhook button and add the following details:
Payload URL:
https://${yourdomain}/wp-json/order-protection/v1/claim-resolutionWebhook Secret
You can add anything here, it's recommended to use something that is not easily guessed.
You can generate a unique secret using the following command.
bash
openssl rand --hex 24This will generate a random string that won't be easily guessed.
Events Click on Let me select individual eventsu
Choose Claims -> Resolved
You only need this one event for the OrderProtection Plugin to work correctly.
Click Create
It should look something like this:
Summary
That's it! Add the Webhook Secret, and API Token to your setup in the following steps, as well as the URL value given to you by OrderProtection.
The Basics
You will be providing key information to OrderProtection via the API in order to link your orders to OrderProtection and allow us to mark them as protected. At a high-level you will be providing the following:
- Orders placed in your system. You will add a premiumPaid field which will allow us to know how much your customer paid for OrderProtection.
- Fulfillments on orders. This allows us to make sure that the delivery status of the customer's order meets our terms to have their claim approved.
Once we have this information we can action claims on your behalf. You will have a few responsibilities as well to action in your system. These will be in response to webhooks which we will send after a claim has been approved. These include:
- Handling reshipments. You will receive a list of items to be reshipped. You can then create a $0 order in your system including the items we send in the webhook body. After you create this order you will create a new order using the same channel above but will use the field
originalSourceOrderIdto link it as a reshipment. - Handling refunds. You will receive a list of items to be refunded to the customer.
At a high-level this is all that you need to do to integrate with OrderProtection.
Details
We host swagger documentation here for our APIs. You can use this to understand the required shape for your orders.
Widget
Once you have access to the dashboard, you will have to install our npm package @orderprotection/core.
After you have installed the package, you can import our createWidget function like so:
typescript
import { createWidget } from '@orderprotection/core';This function has three required parameters:
- store_url
- cart
- locations
store_url is your Order Protection store URL. This can be found in the store settings section of the Order Protection dashboard.
cart is the cart object that you will be sending to Order Protection. This object should follow the cart structure.
locations is an array of sibling objects these objects are the locations that the widget will be rendered.
Example:
typescript
locations: [
    {
      sibling: {
        position: "after",
        id: "widget-location-1",
        selector: ".subtotal",
      },
    },
    {
      sibling: {
        position: "before",
        id: "widget-location-2",
        selector: "#mini-cart-subtotal",
      },
    },
  ],
The selector key identifies the element where you wish to place the widget, either before or after the designated element specified by the position key. The syntax aligns with document.querySelector, allowing you to use any valid selector.
End Widget Example:
typescript
const opWidget = createWidget({
  store_url: 'www.store.com',
  cart: yourCartObject,
  locations: [
    {
      sibling: {
        position: 'after',
        id: 'widget-location-1',
        selector: '.subtotal',
      },
    },
    {
      sibling: {
        position: 'before',
        id: 'widget-location-2',
        selector: '#mini-cart-subtotal',
      },
    },
  ],
});

opWidget.init();
opWidget.init() will initialize the widget and render it in the specified locations. This will need to be called after the cart has been updated to ensure the widget is always up to date.
Cart Structure
This is the structure of the cart object that you will be sending to Order Protection inside the createWidget function.
Example:
typescript
{
  load: async () => {
    // Code to reload cart
    const response = await fetch("/cart.js");
    const data = await response.json();
    opWidget.cart = data;
  },
  add: async () => {
    // Code to add item to cart
    await fetch("/cart/add.js");
  },
  remove: async () => {
    // Code to remove item from cart
    await fetch("/cart/remove.js");
  },
  get item_count() {
    // Code to get item count
    return widget.cart.item_count;
  },
  get items() {
    // Code to get items
    return widget.cart.items;
  },
  get requires_shipping() {
    // Code to get if cart requires shipping
    return widget.cart.requires_shipping;
  },
  get subtotal() {
    // Code to get subtotal
    return widget.cart.items_subtotal_price;
  },
  get total_price() {
    // Code to get total price
    return widget.cart.total_price;
  },
}